Systems Guide
After uploading files to Istari Digital, you can use Systems to organize your work, collaborate with teammates, and manage multi-model versioning.
Creating a System
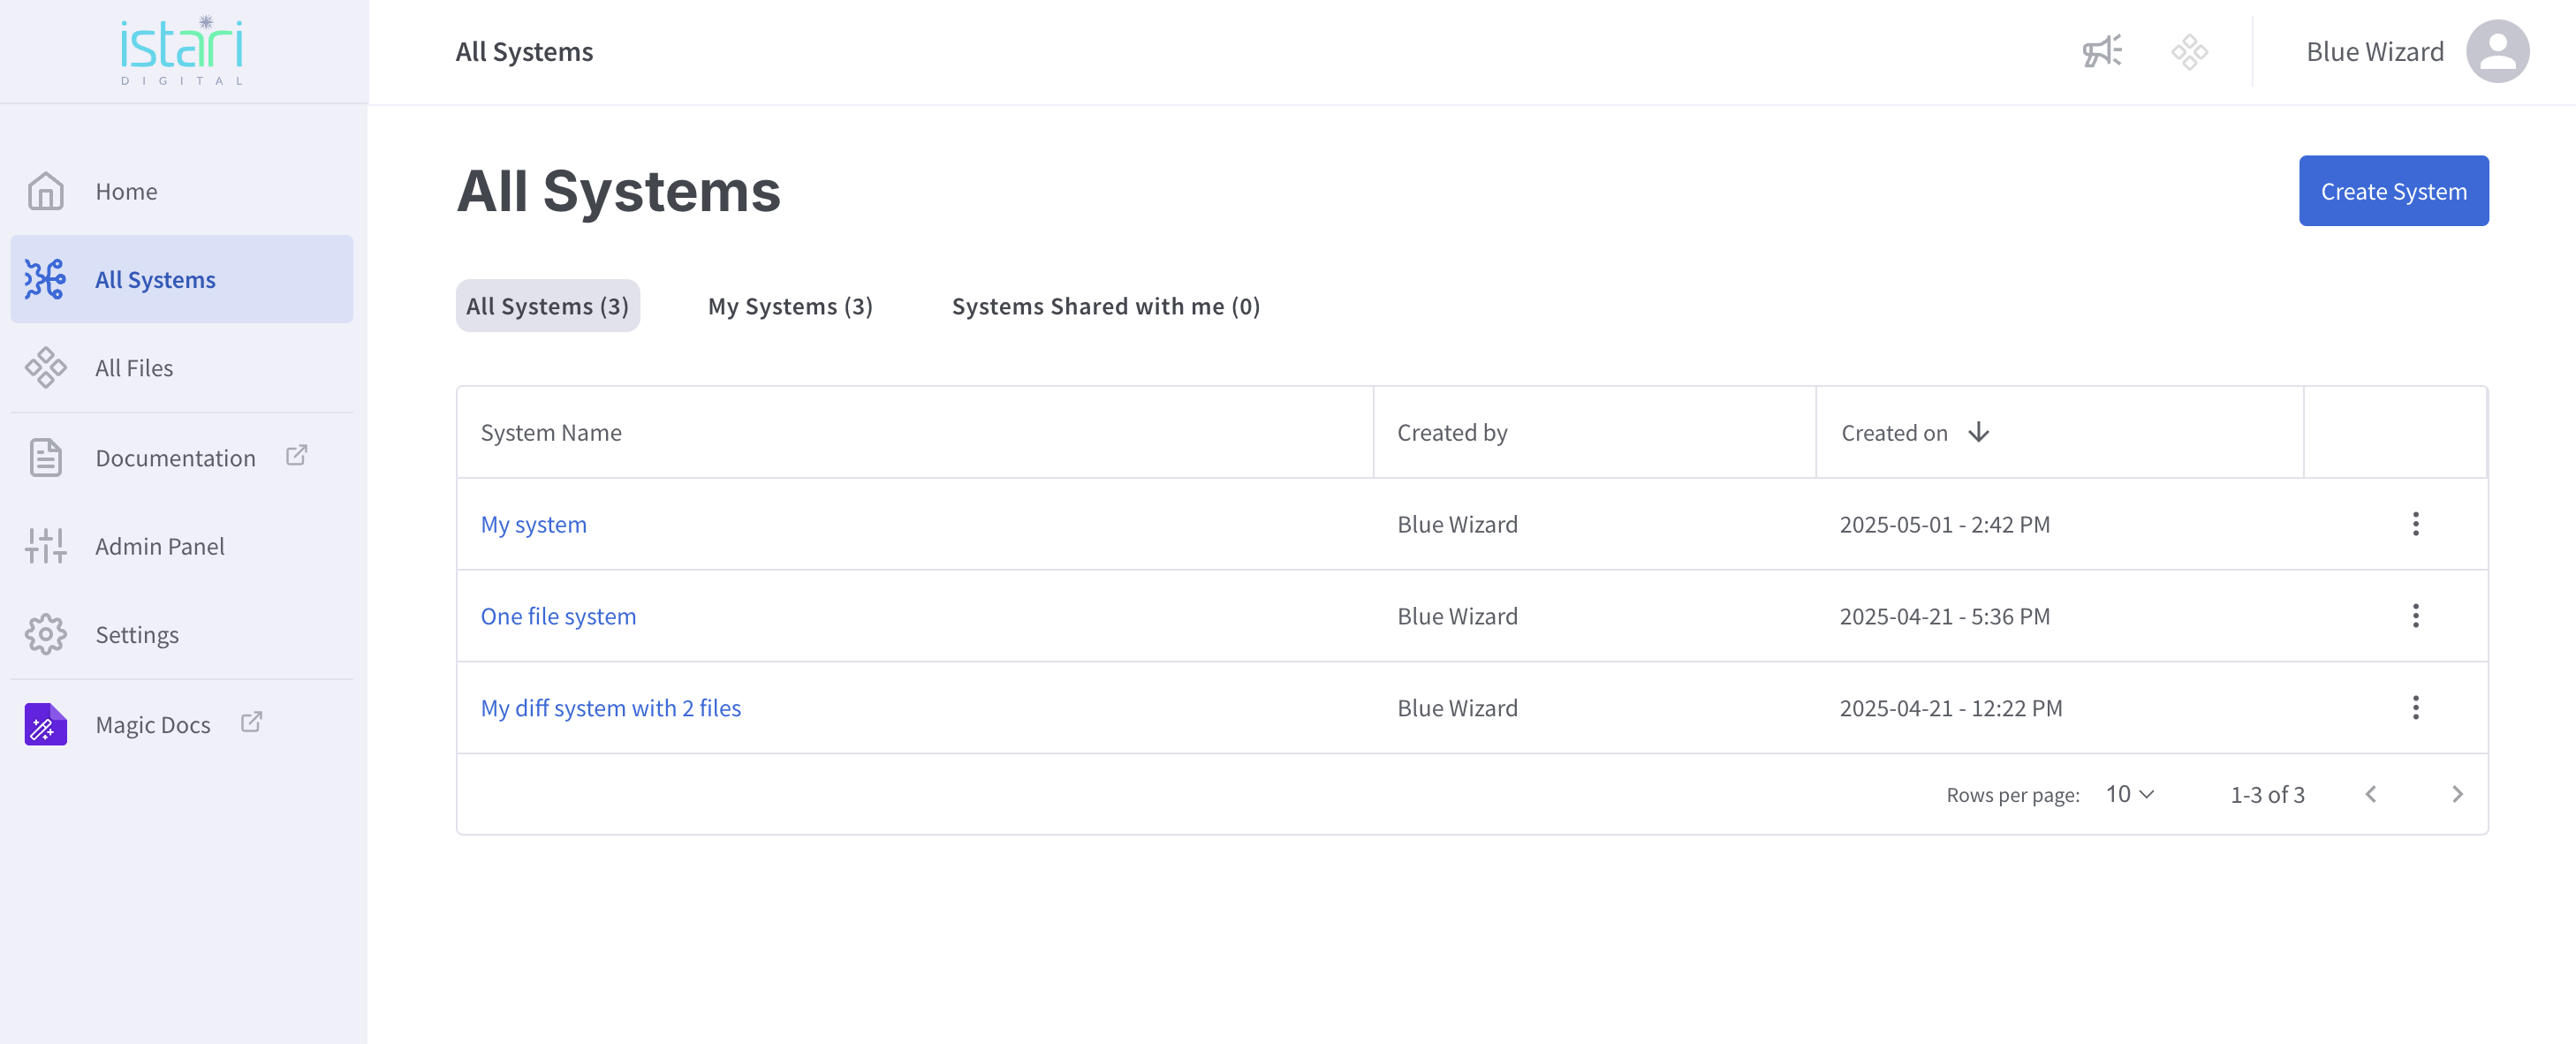
1. Open the Systems Panel
From the home screen, navigate to All Systems in the left sidebar and click Create System.
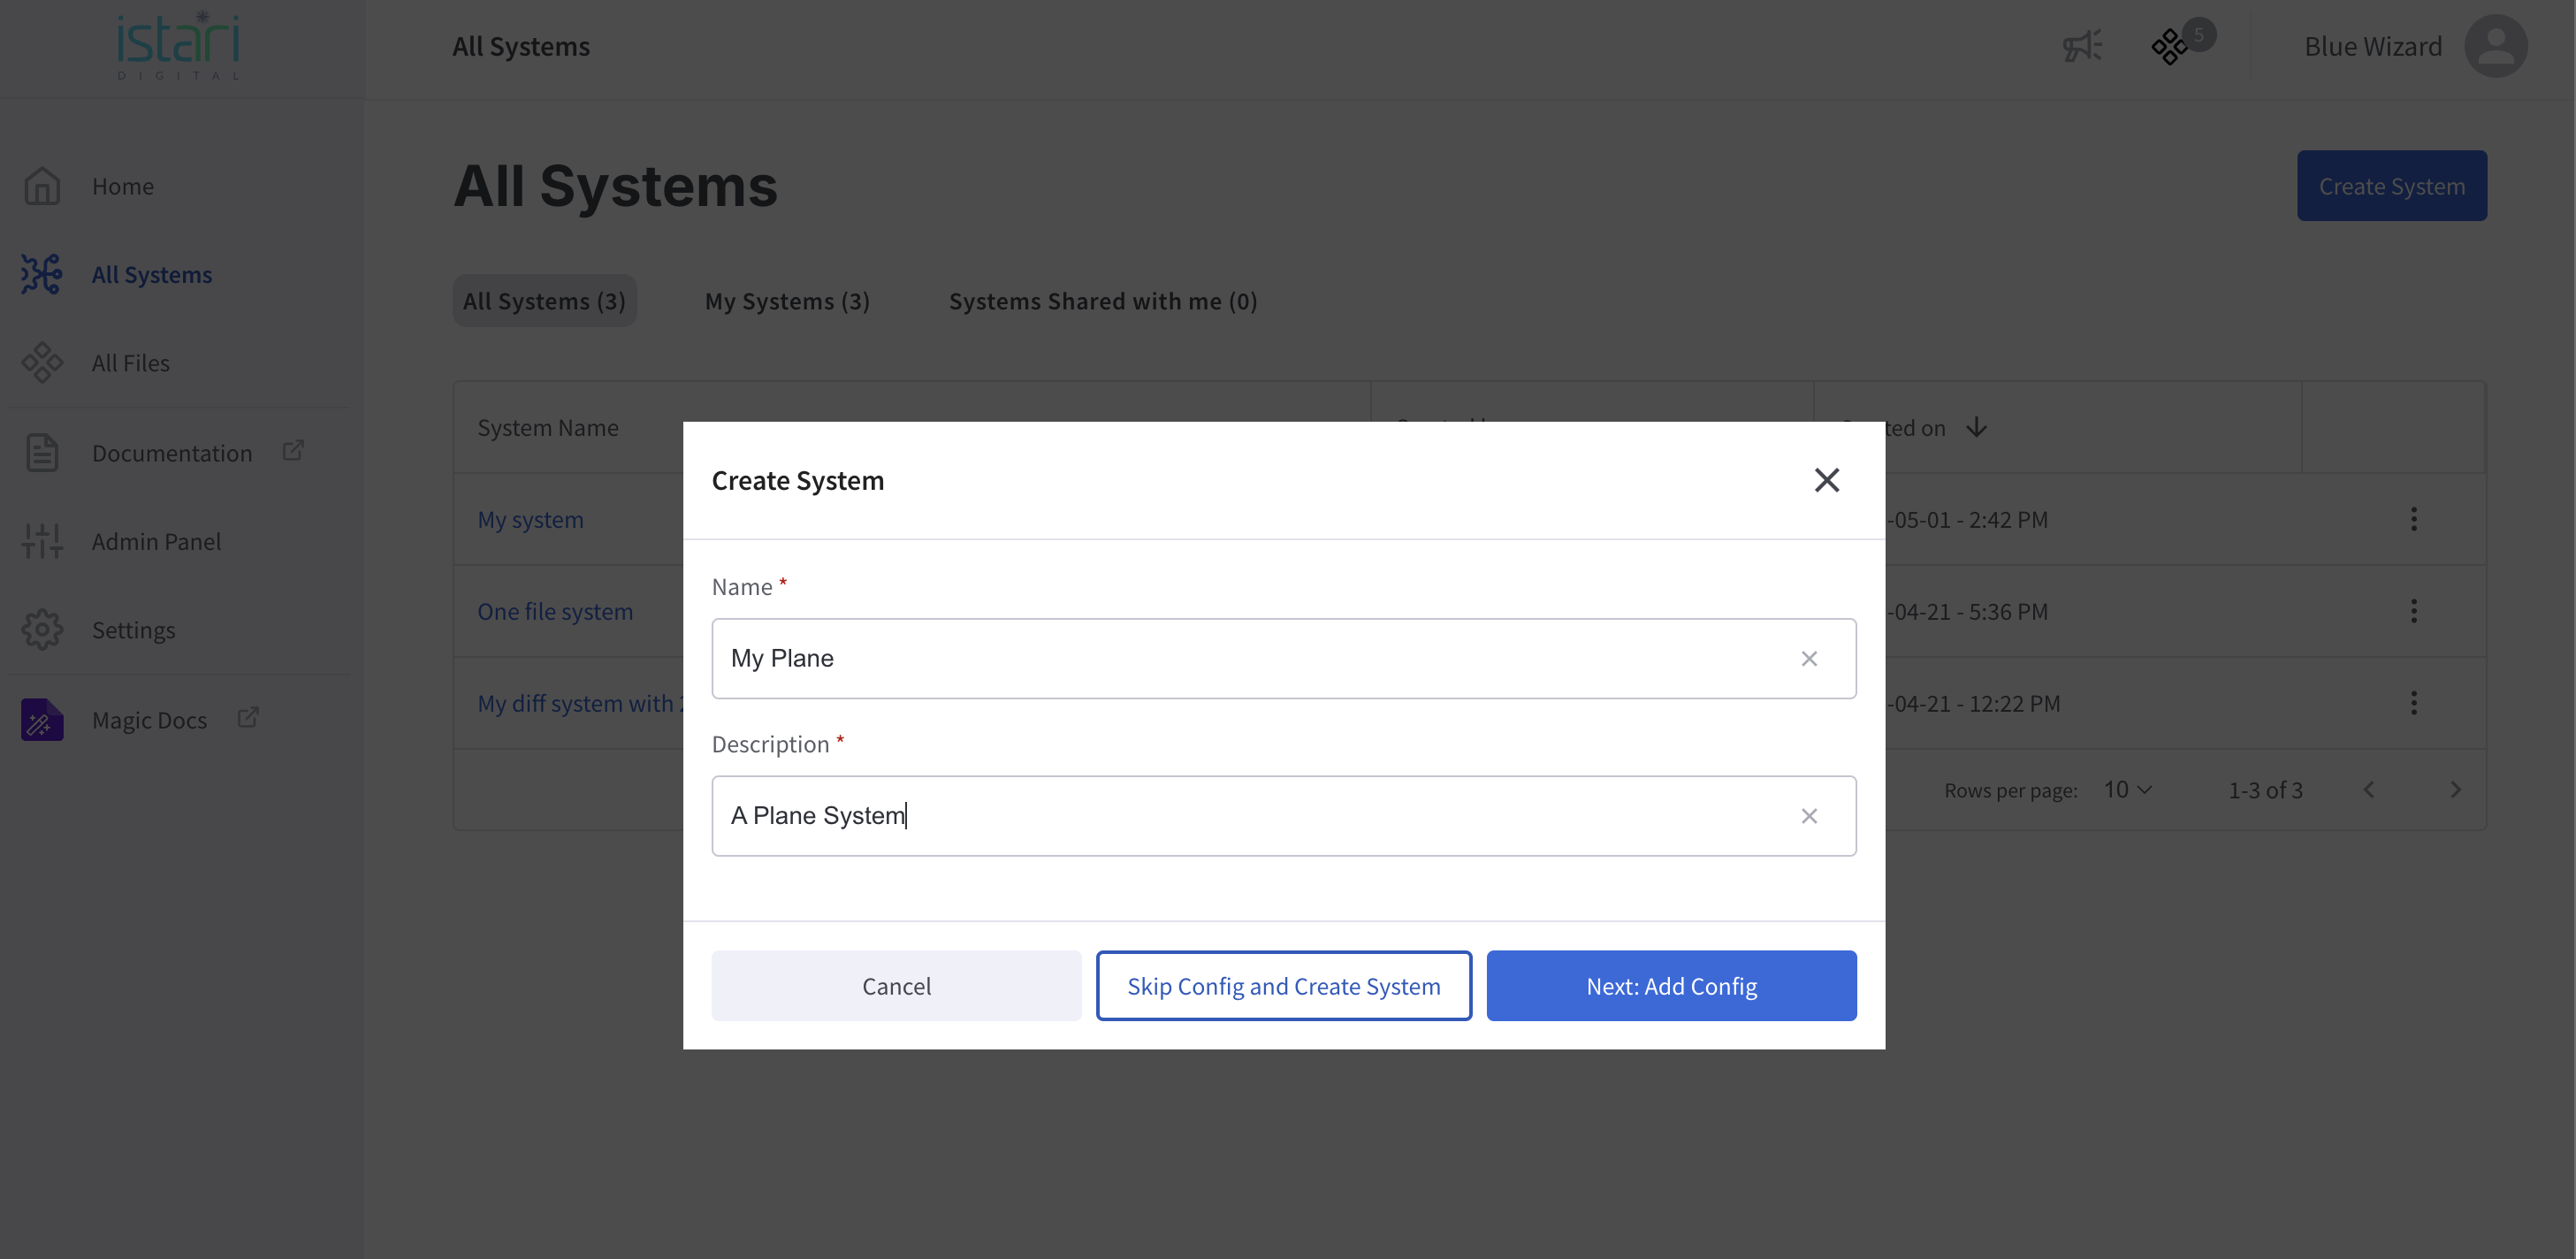
2. Name Your System
Give your system a name and description. A system serves as a namespace for grouping related models and artifacts. When ready, click Next: Add Config.
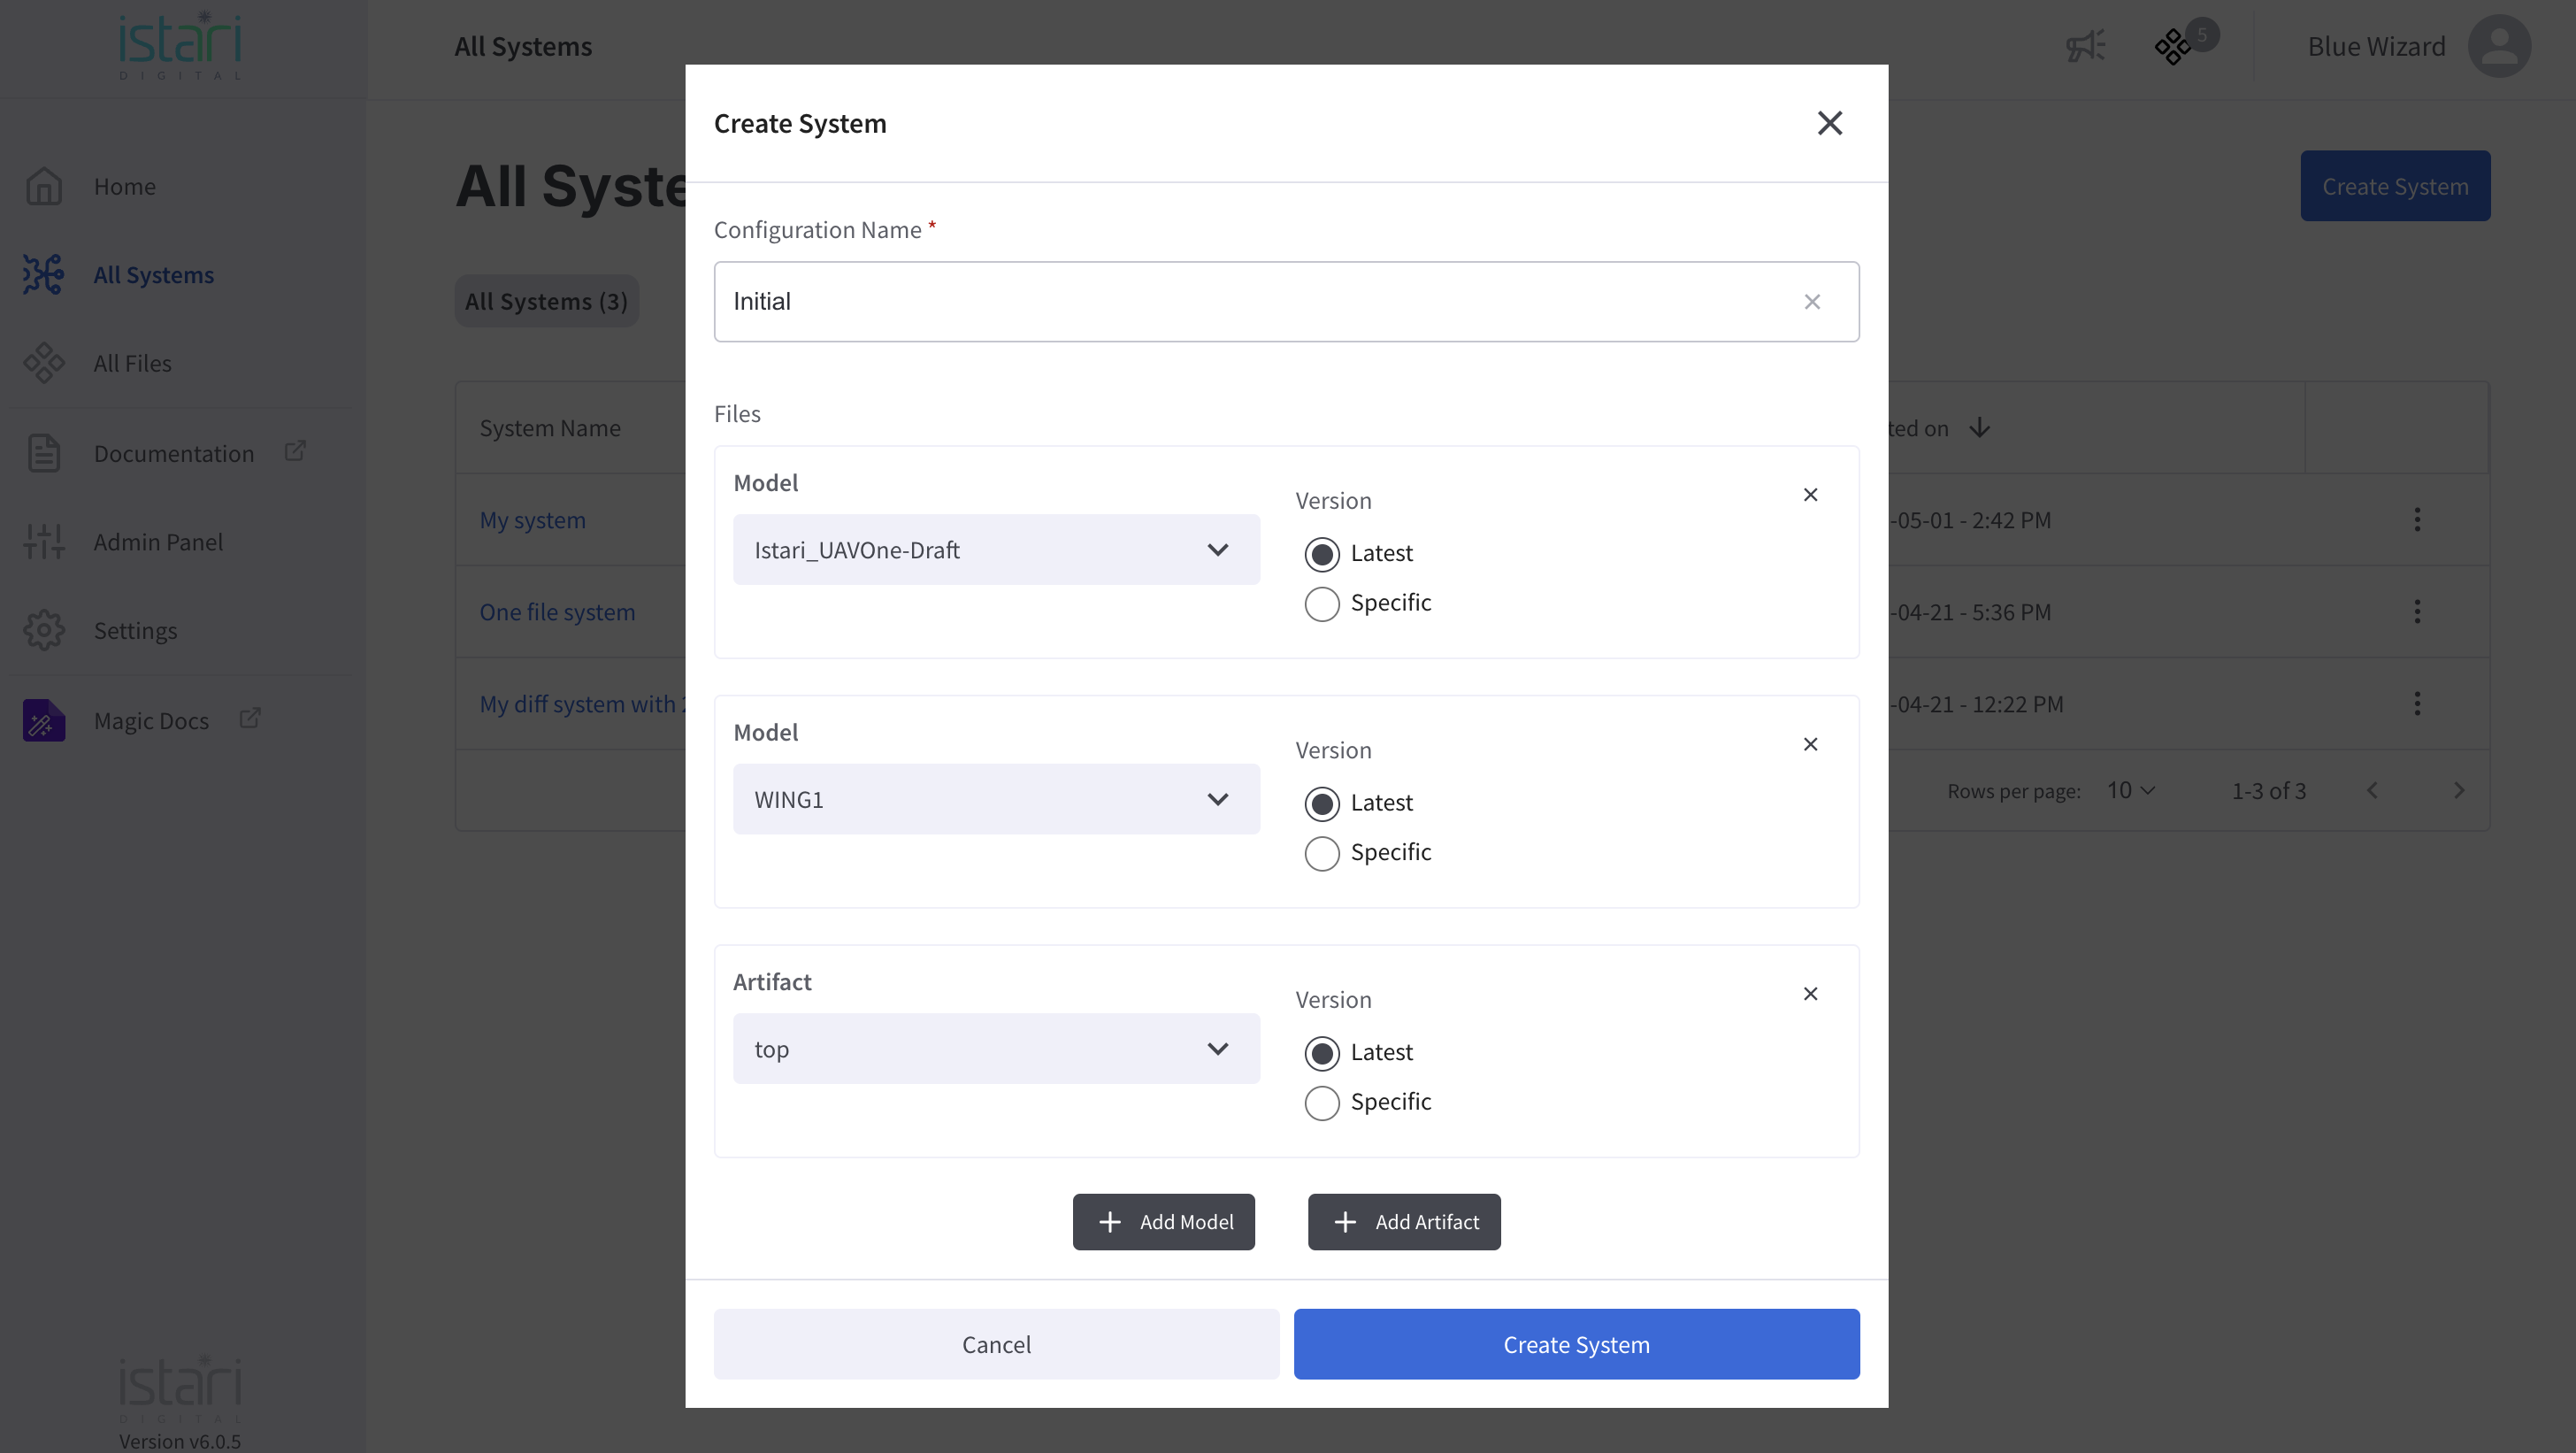
3. Add Your First Configuration
Provide a name for your configuration and add any models or artifacts to include. By default, these files will be tracked, meaning the system will always pull their latest revisions.
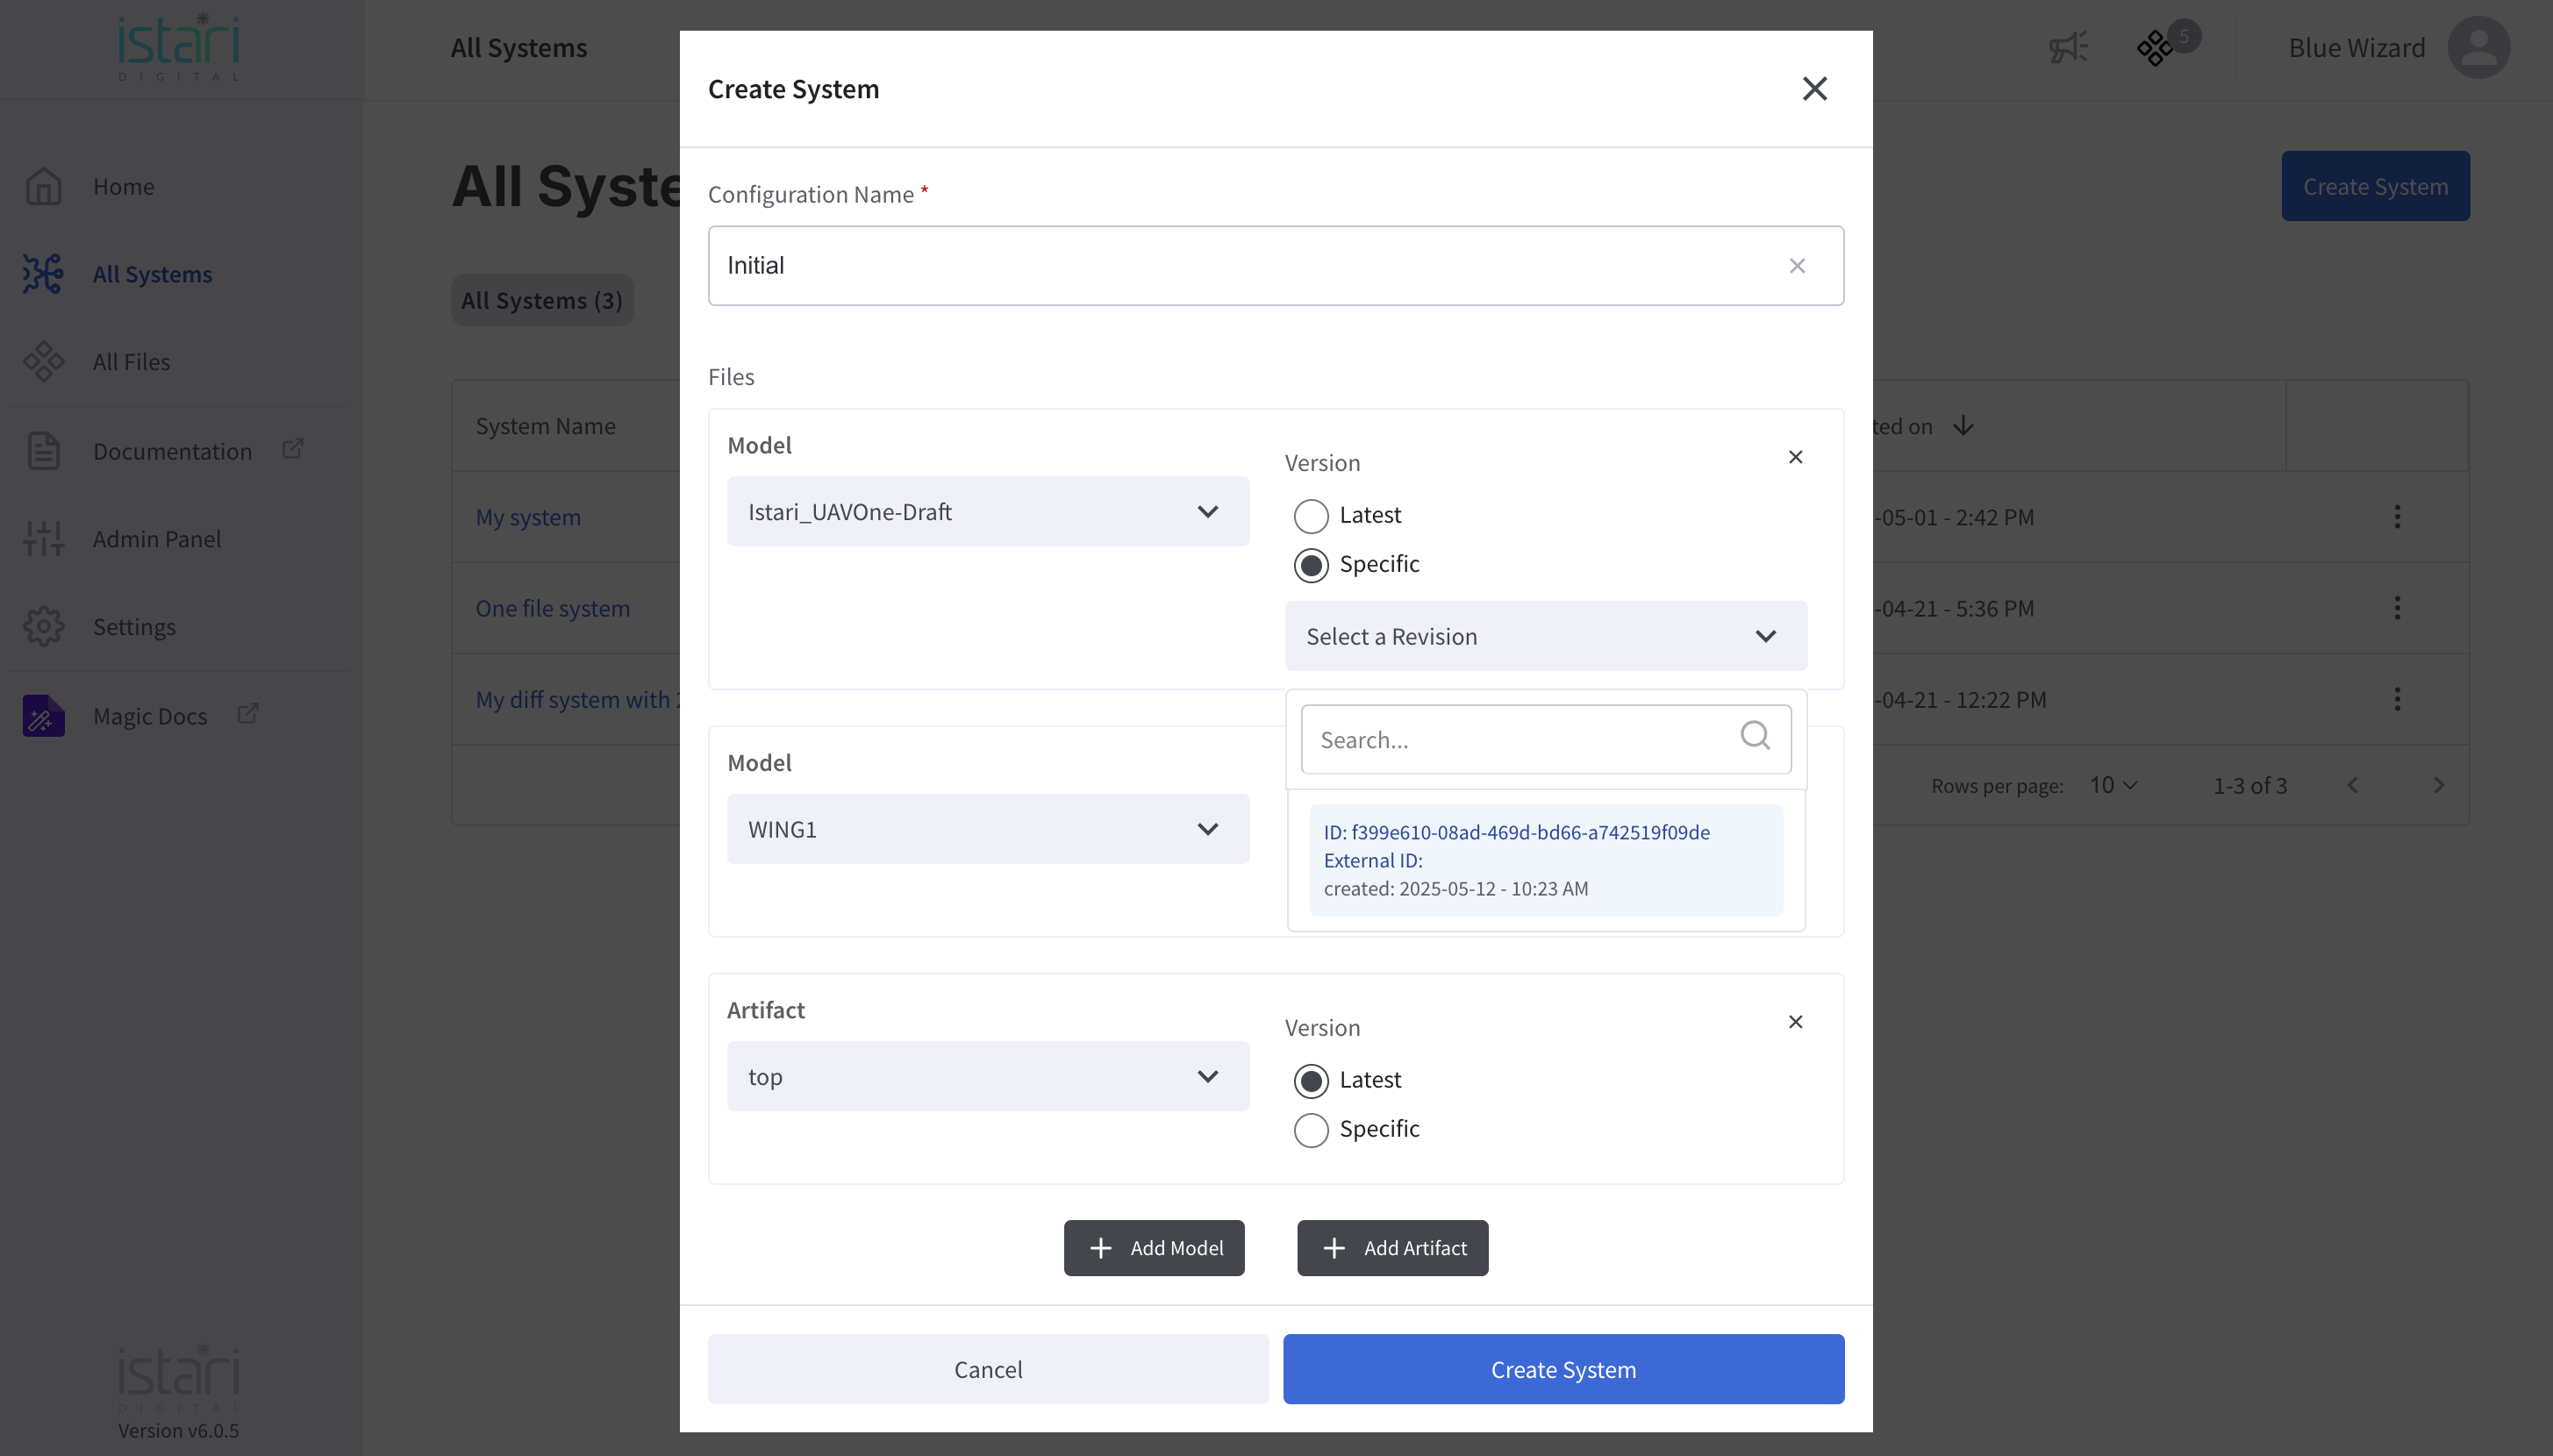
4. Pin Specific Revisions (Optional)
To lock a file to a specific revision, toggle the tracking setting to specific, and select the desired version. You can update this setting anytime.
5. Review Your System
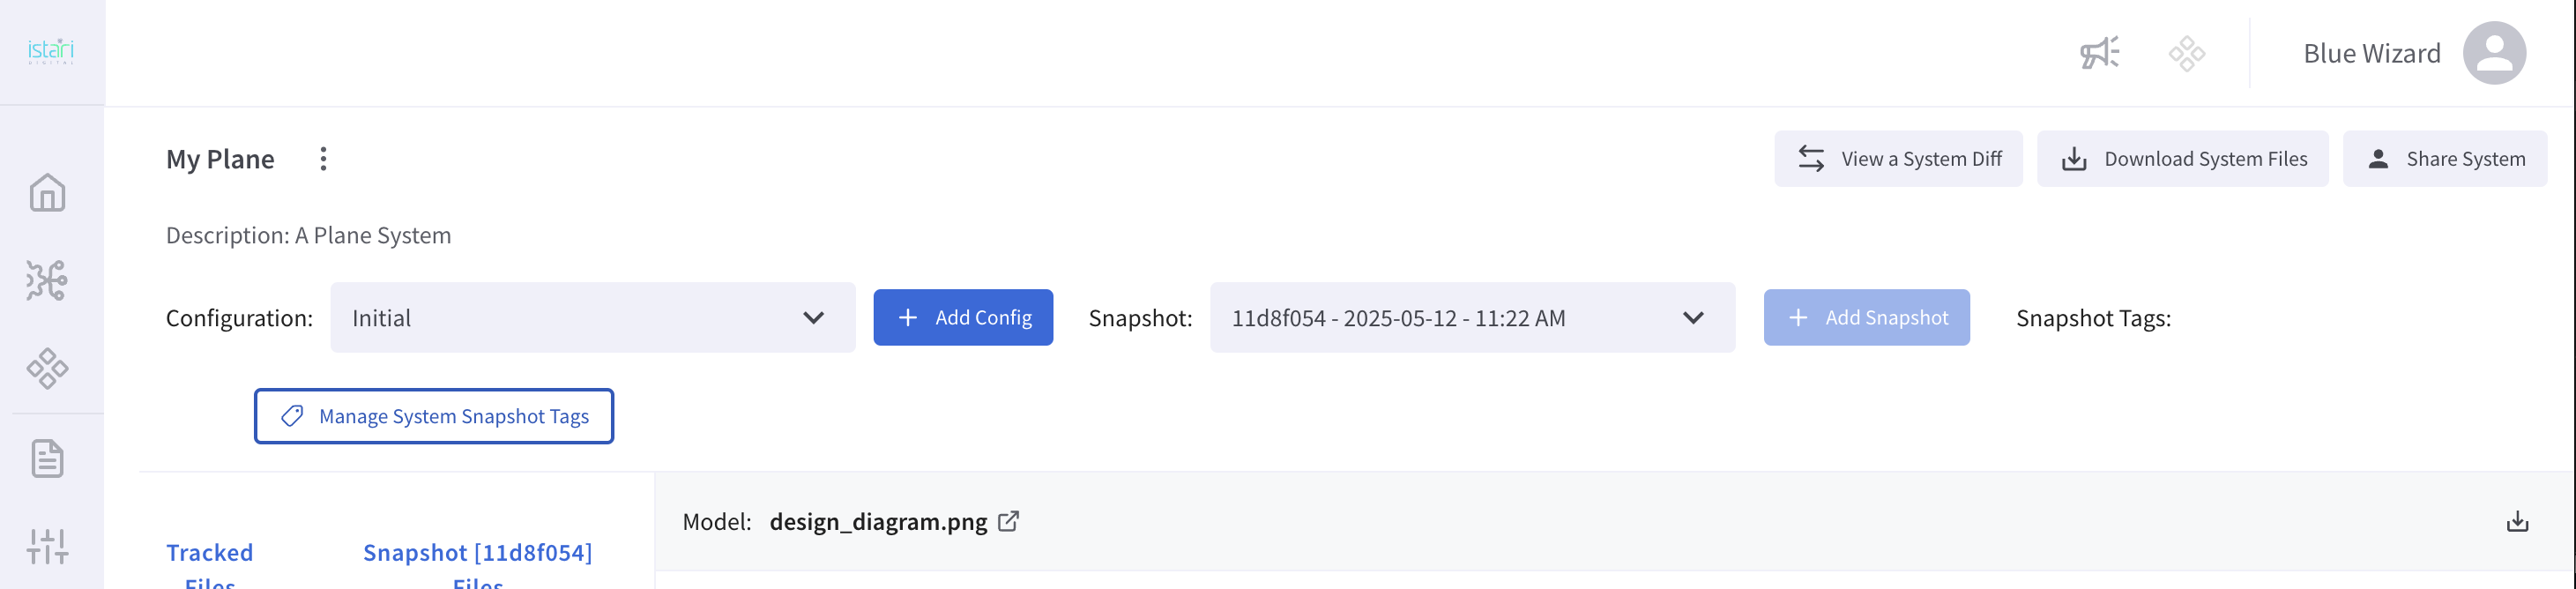
After clicking Create System, you'll land on the system overview page. Here, you'll see:
- A list of tracked files, with icons indicating whether each is pinned.
- Controls for managing Snapshots and Snapshot Tags.
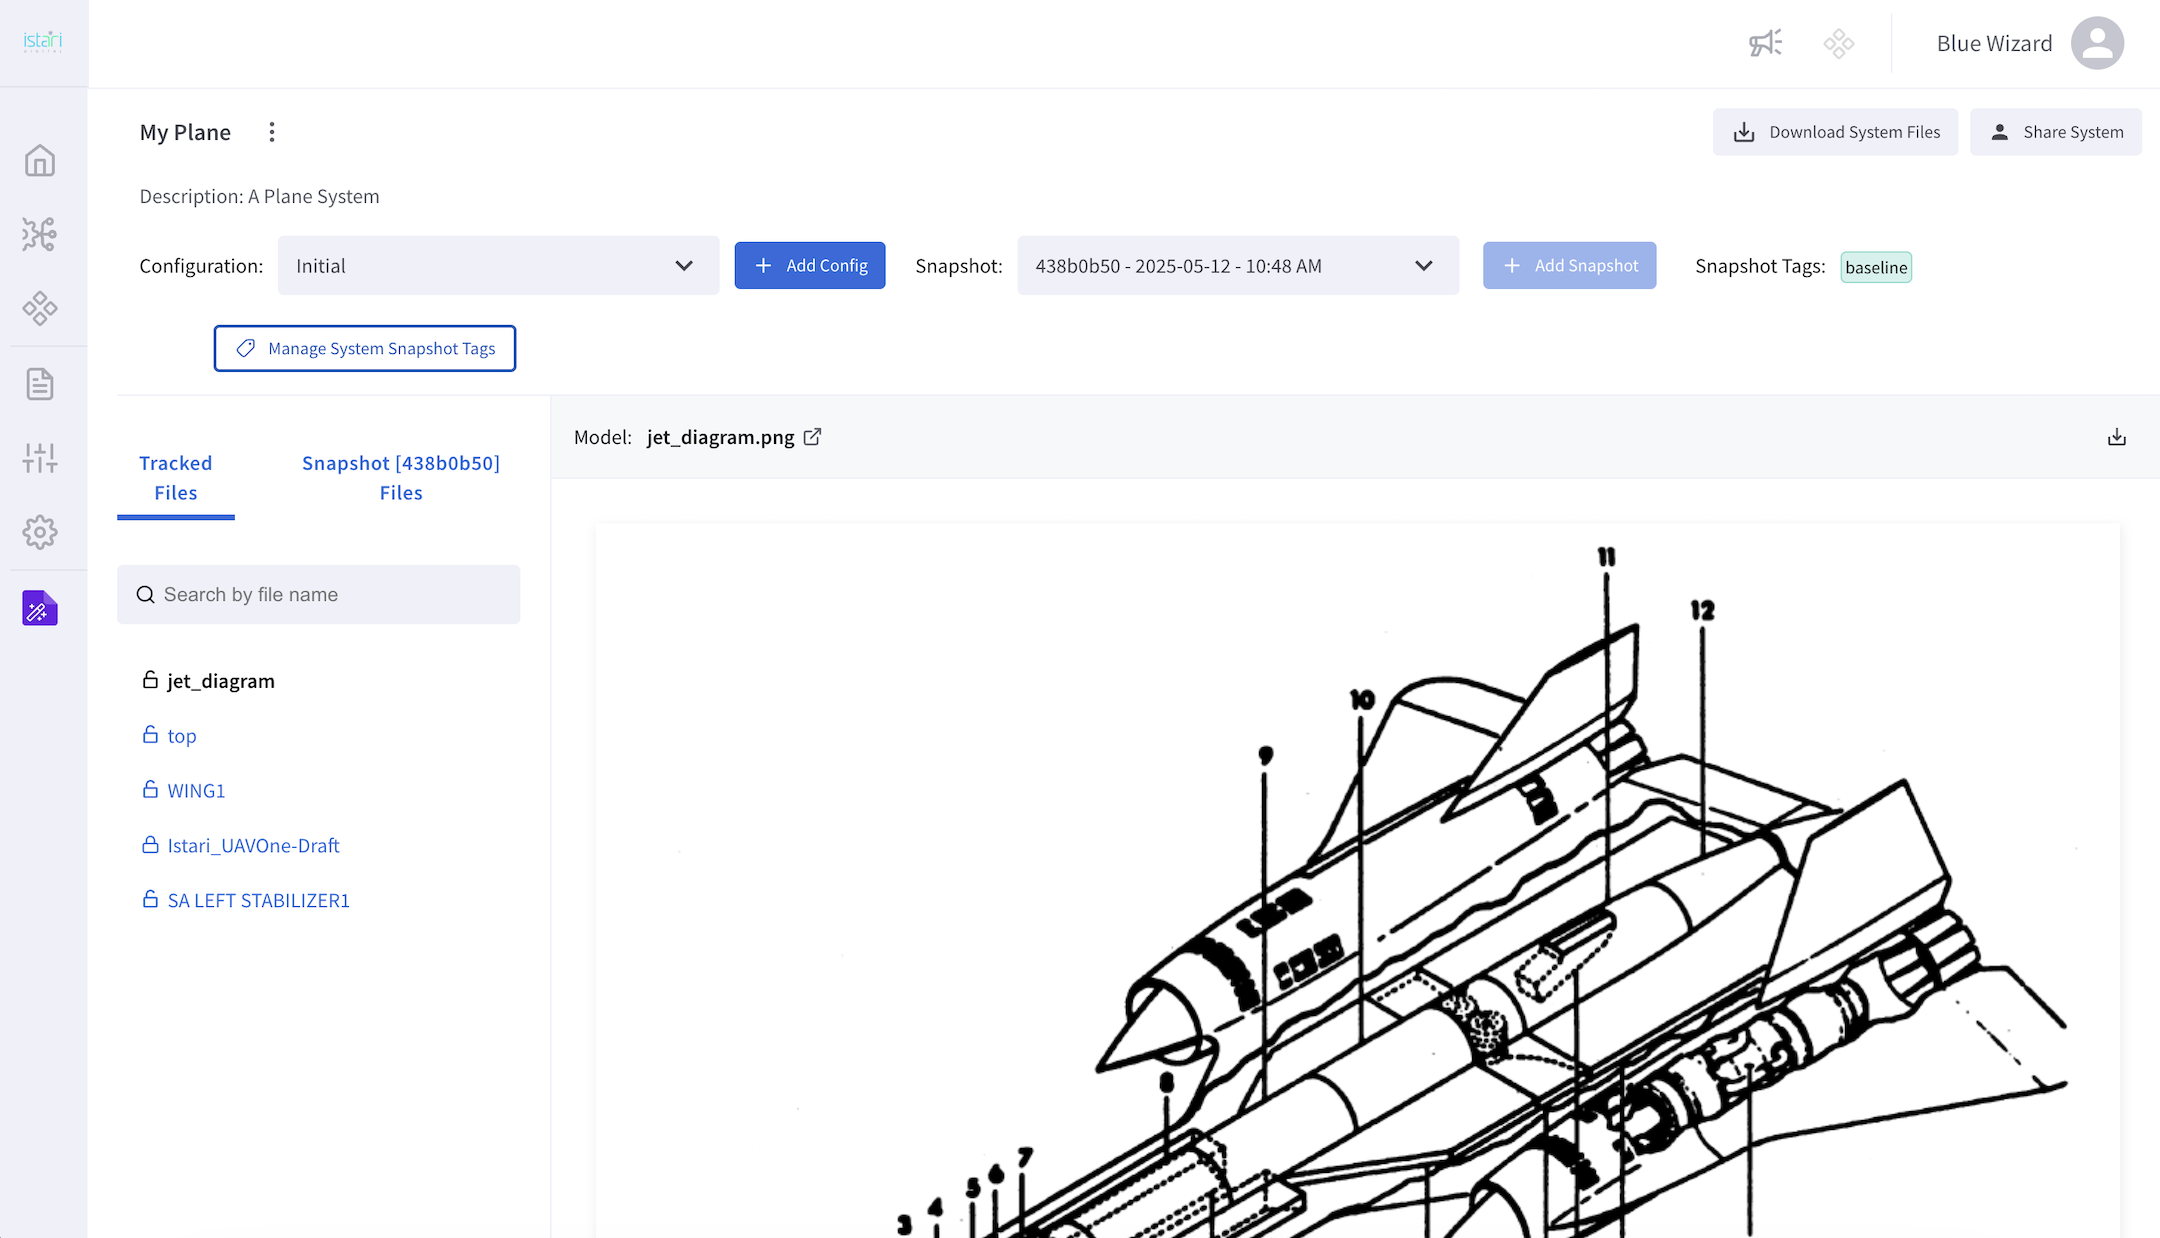
When you create a system, Istari automatically takes an initial snapshot — an immutable record of the current file revisions. If tracked files set to "latest" receive updates, new snapshots can be taken to capture those changes.
6. Upload a New File Revision
Try uploading a new revision of a file set to "latest" in your system. The system will detect the change and offer the option to take a new snapshot.
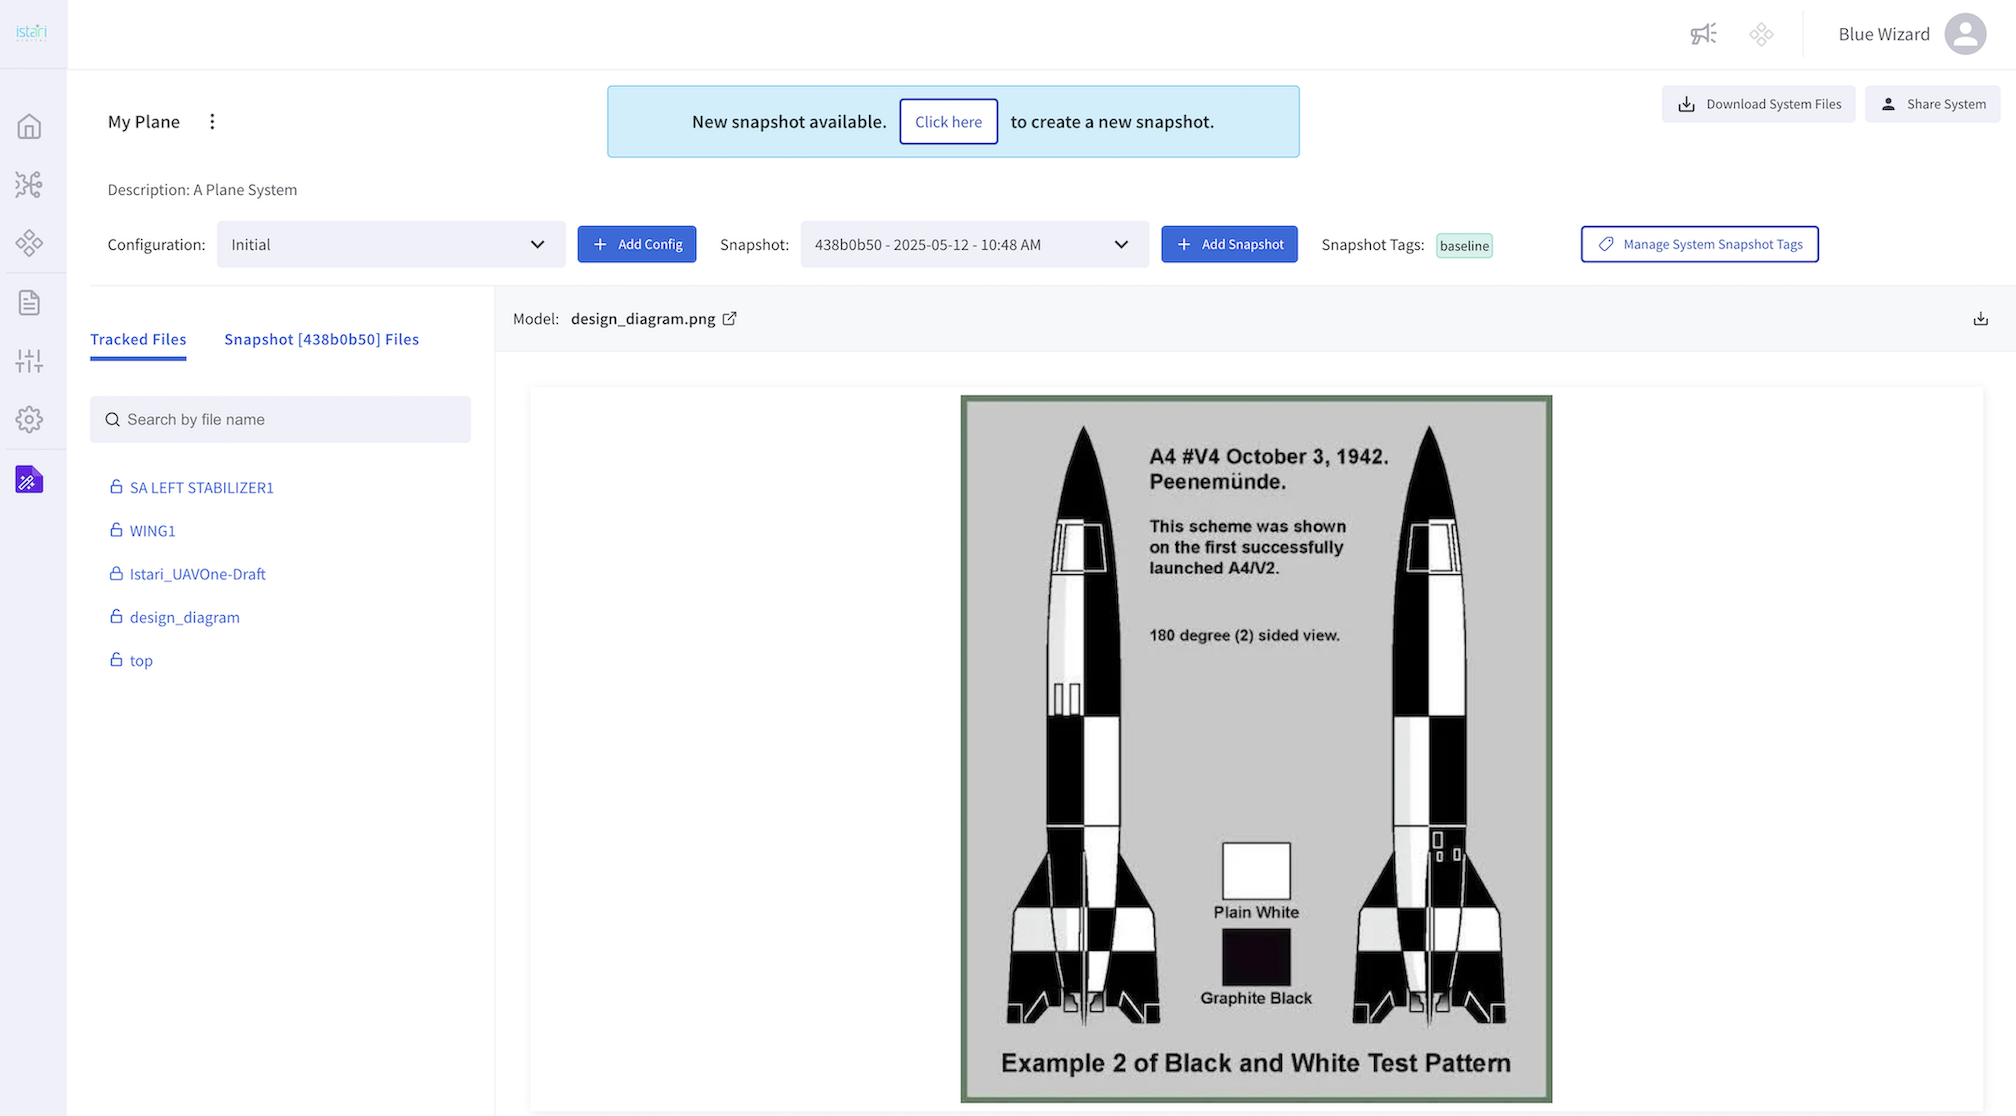
Click the button to capture the updated state.
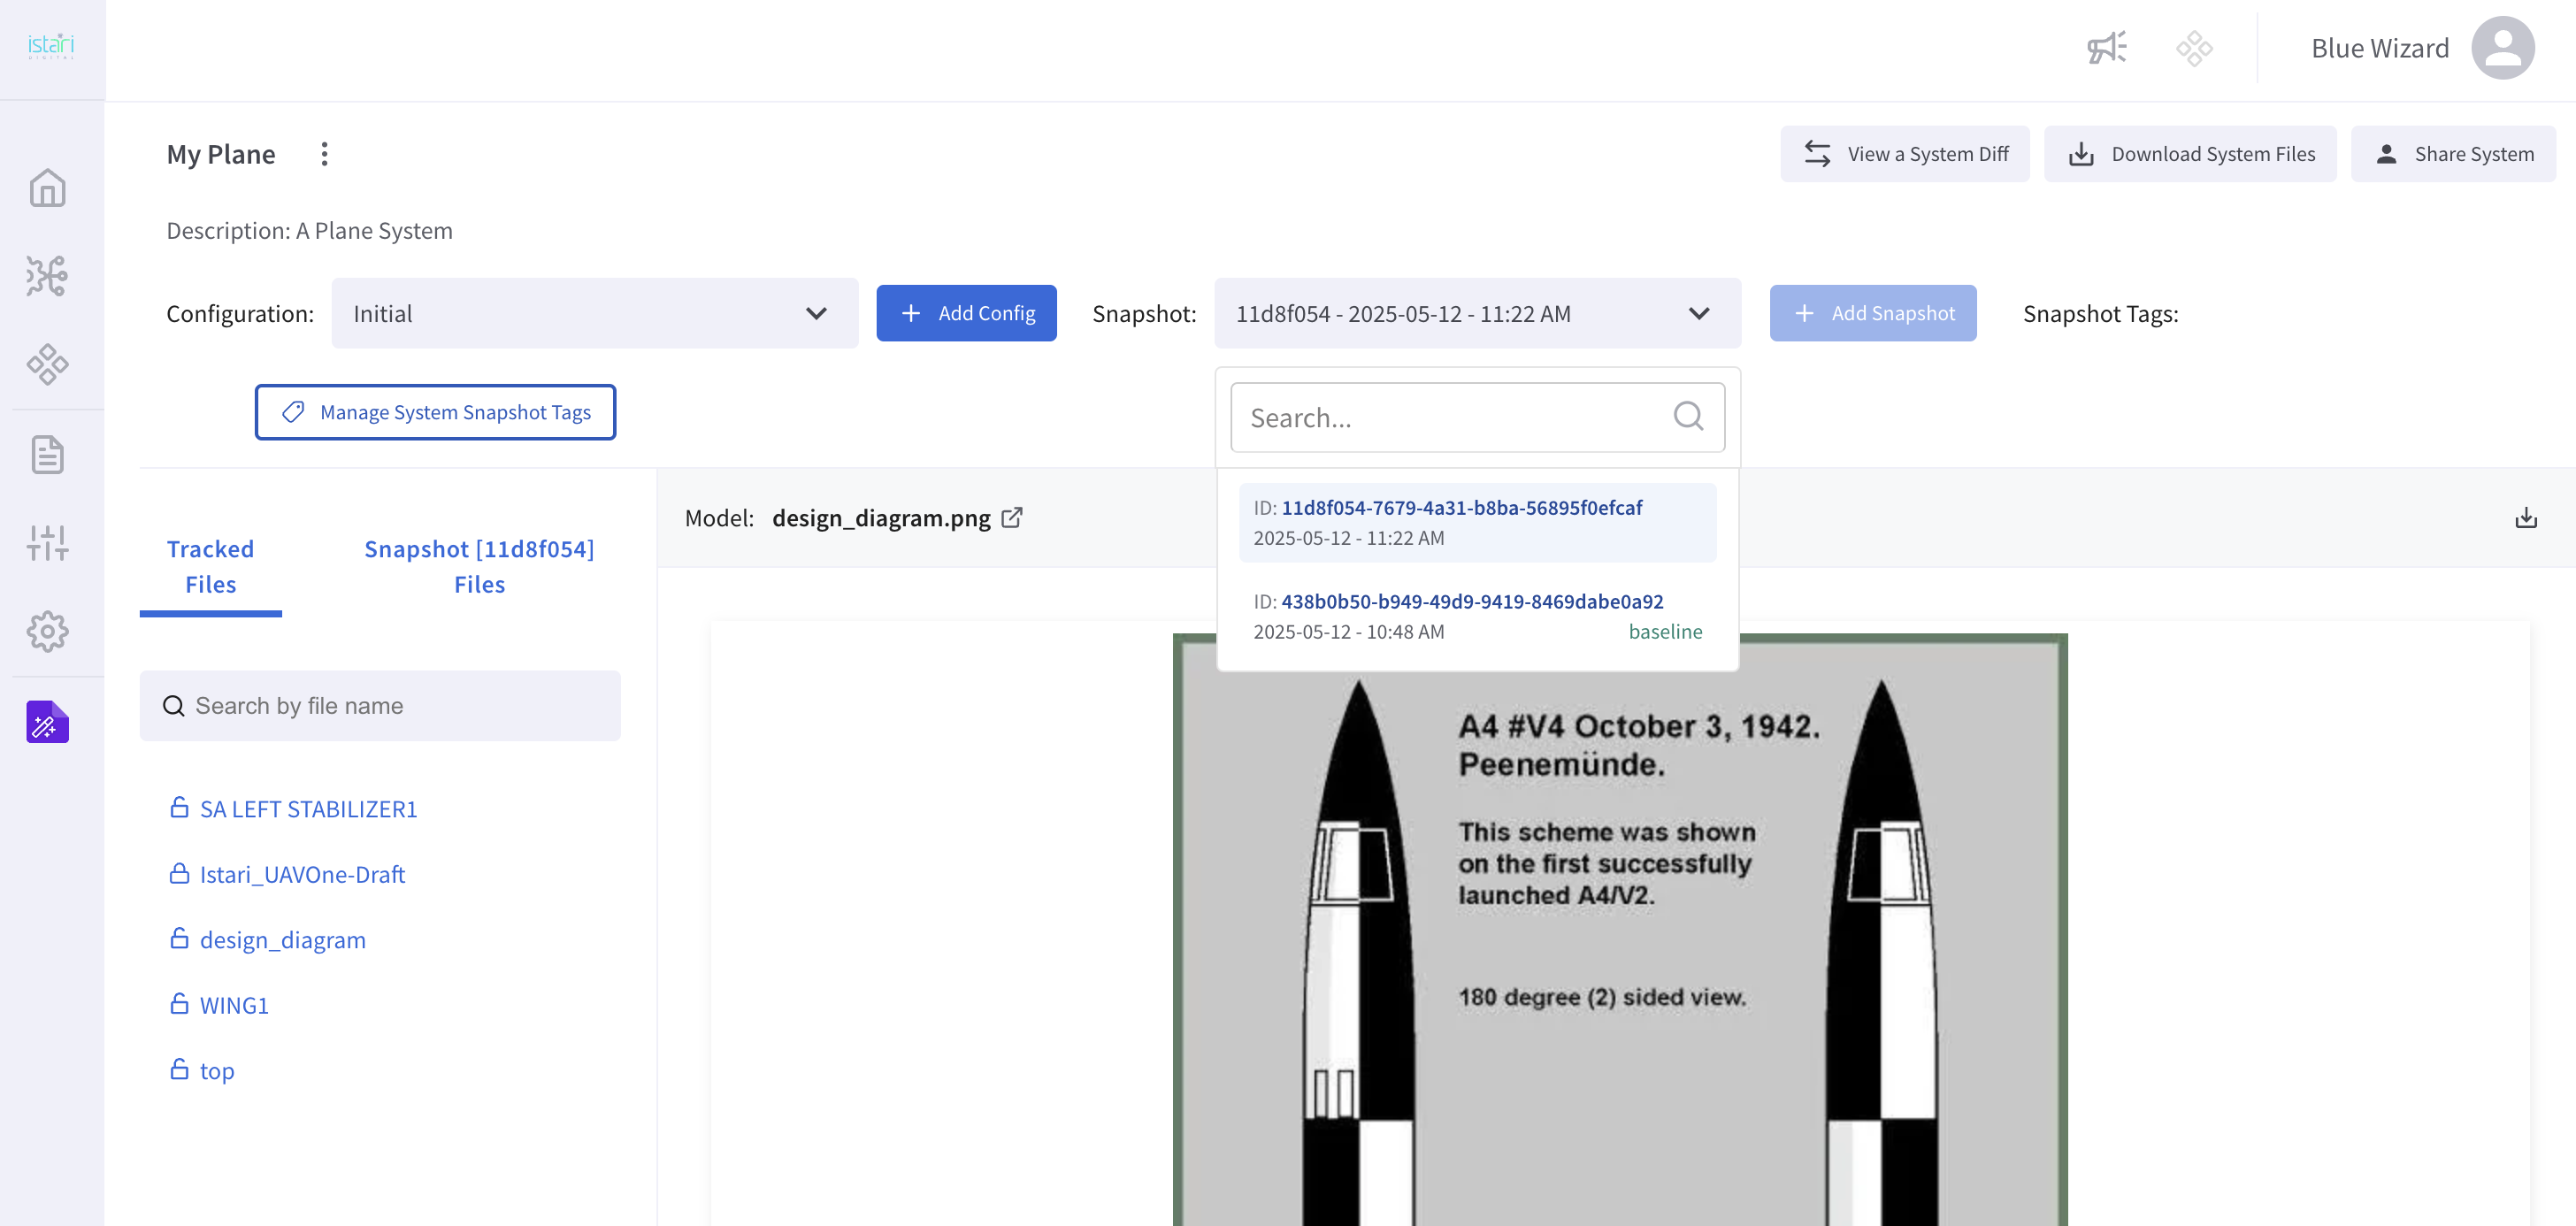
7. Manage Snapshots and Tags
Now that you have multiple snapshots, you can navigate between them and manage Snapshot Tags.
Snapshot tags let you:
- Mark and communicate validated states
- Share snapshots easily
- Mark specific states of the system
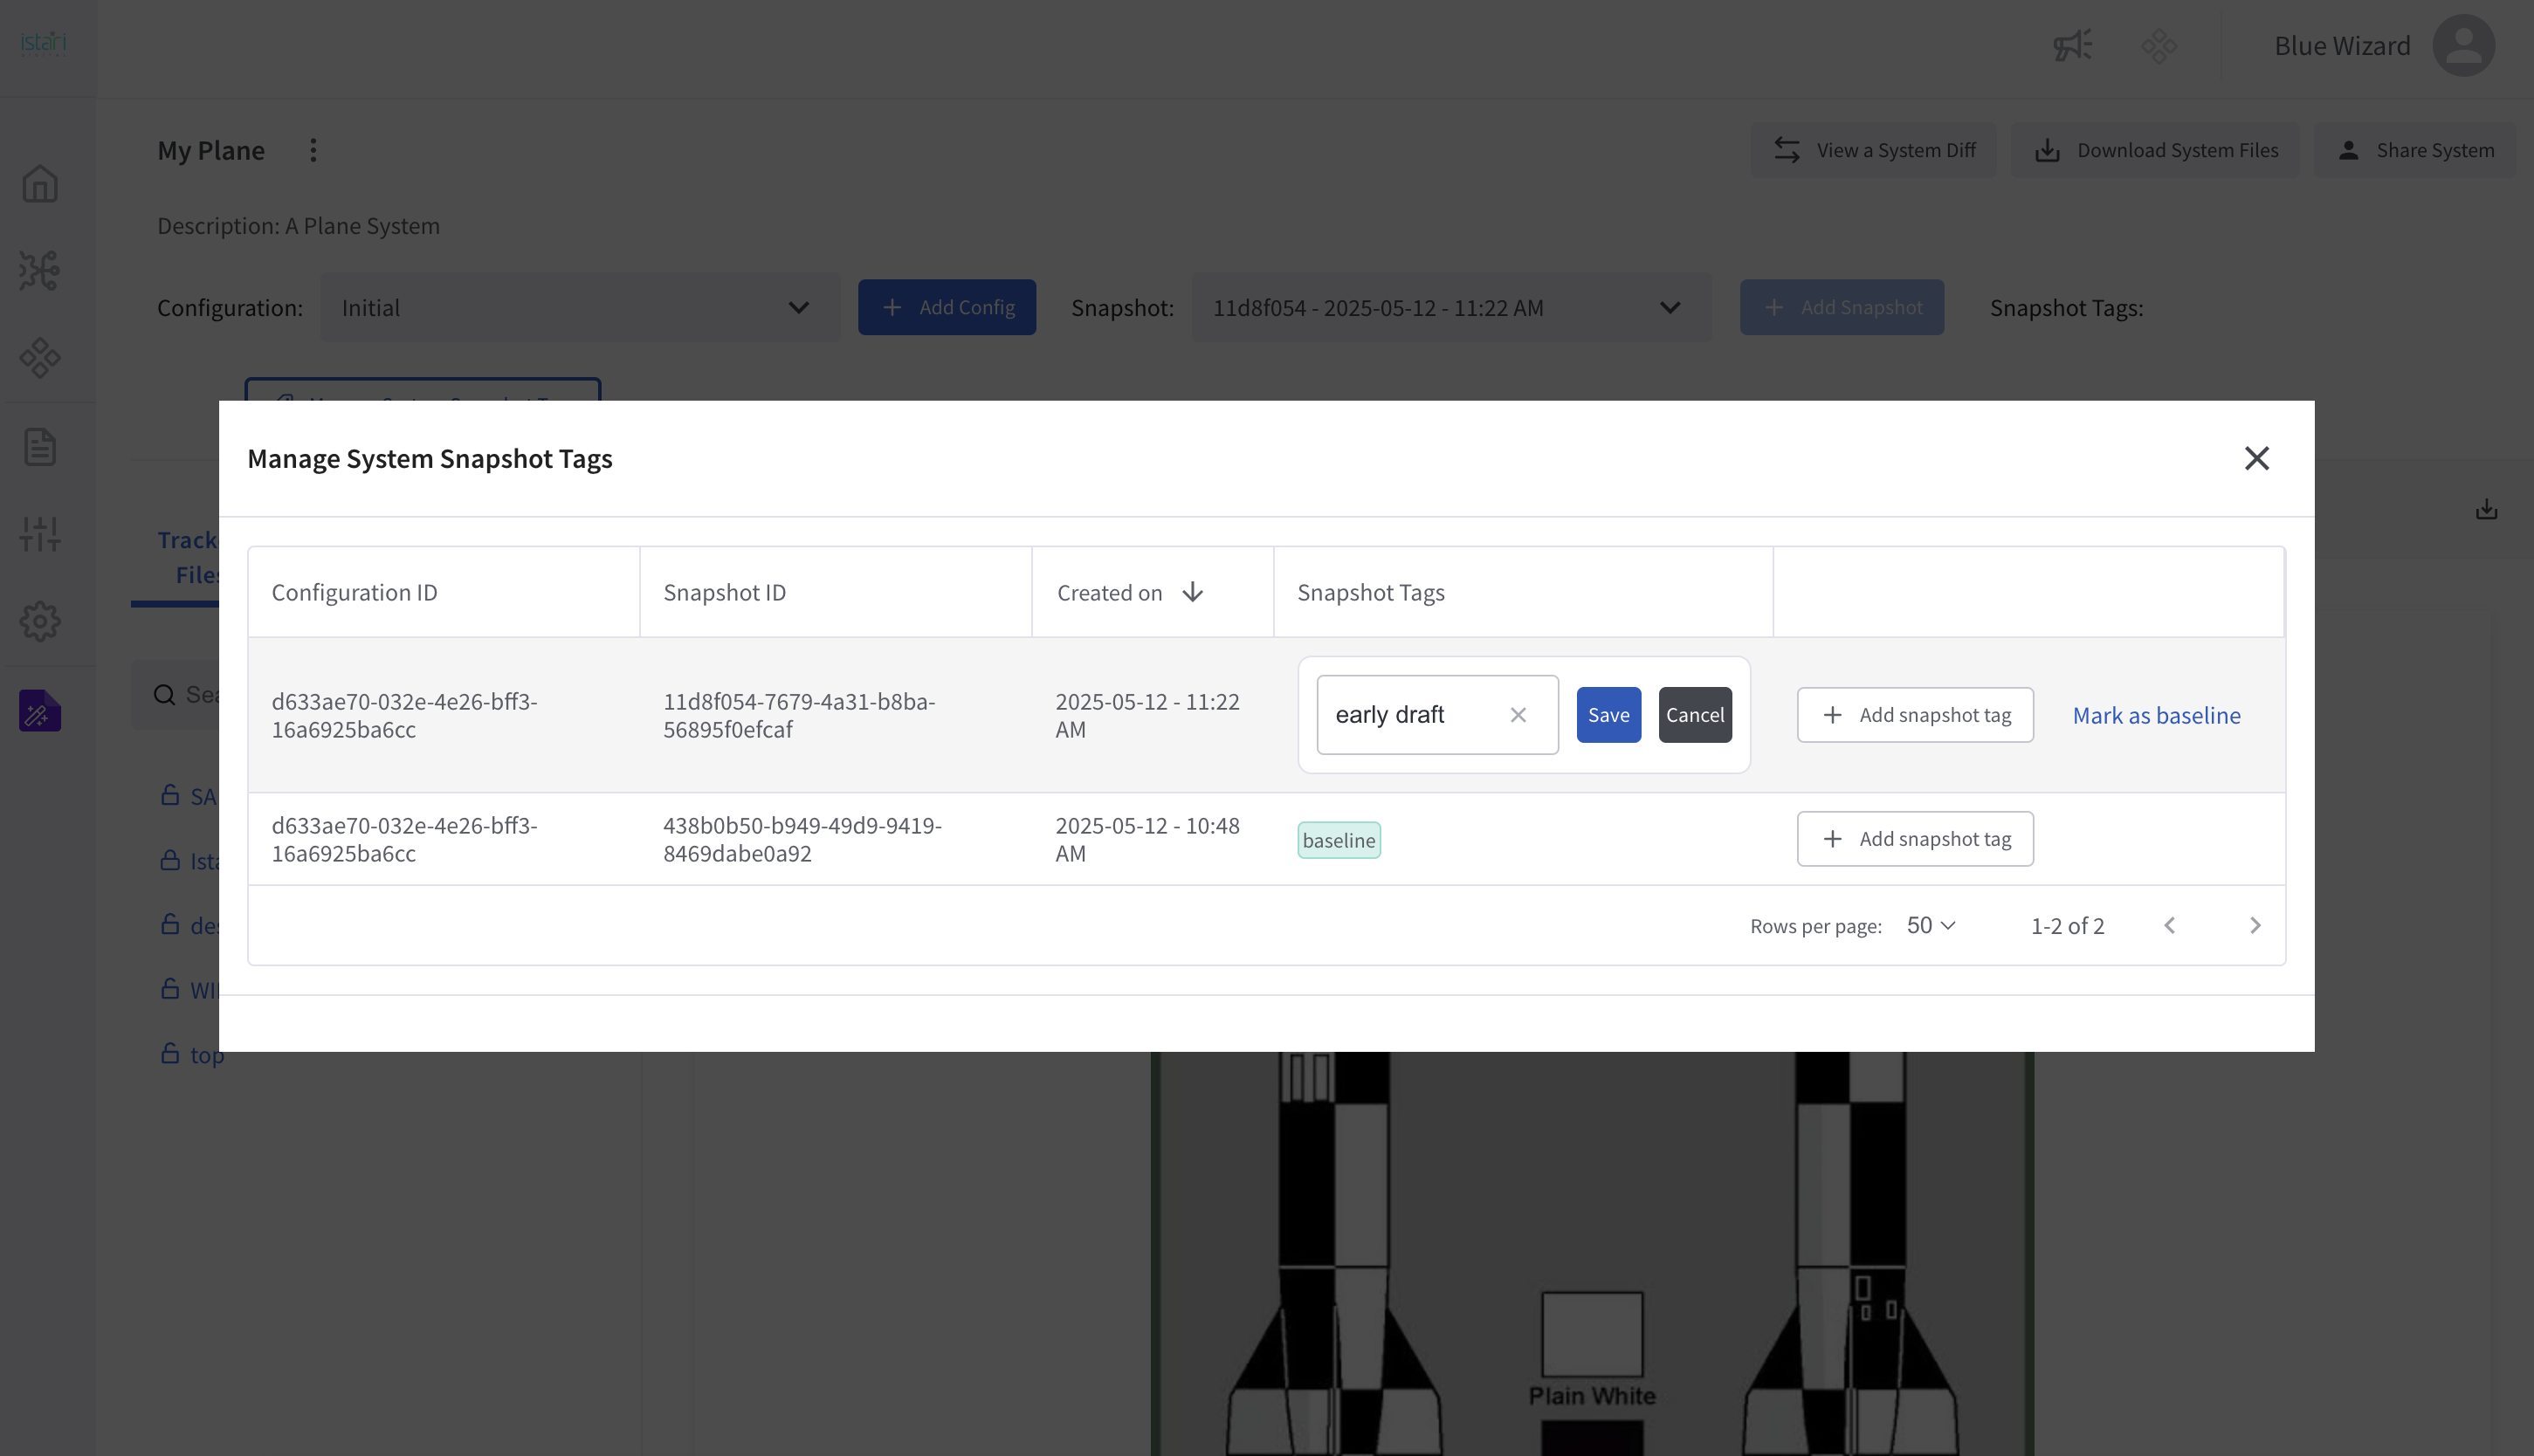
Every system starts with a baseline tag (assigned to the first snapshot). This tag is required and cannot be removed, but it can be moved.
Use Manage System Snapshot Tags to add, remove, or move tags.
8. View System Diffs
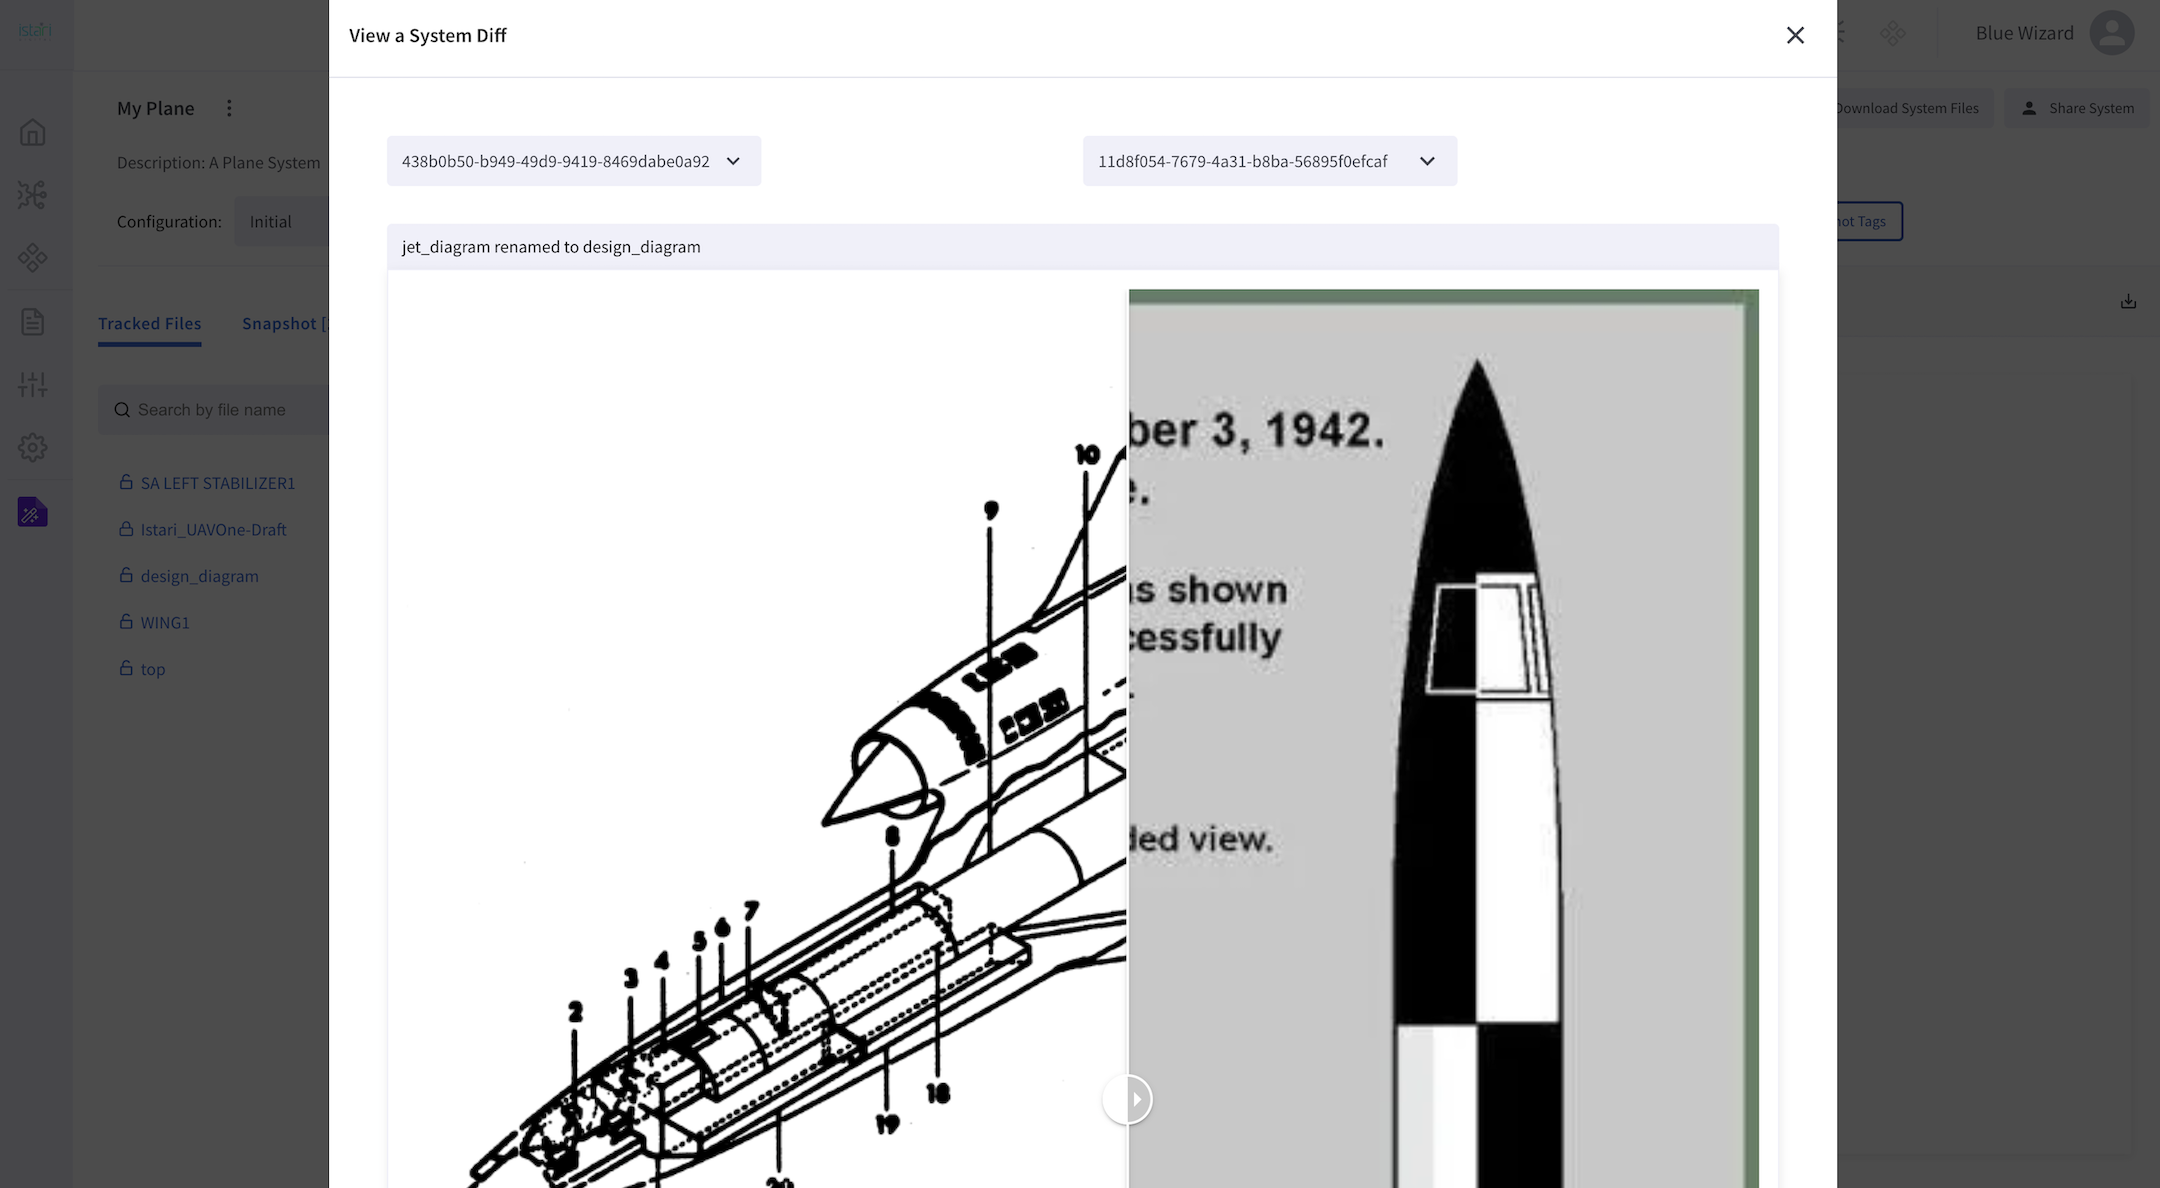
Compare two snapshots by clicking View System Diff in the top right.
Select a base and a target snapshot. Changes will be displayed directionally.
For example, you might see that an image file was renamed or updated:
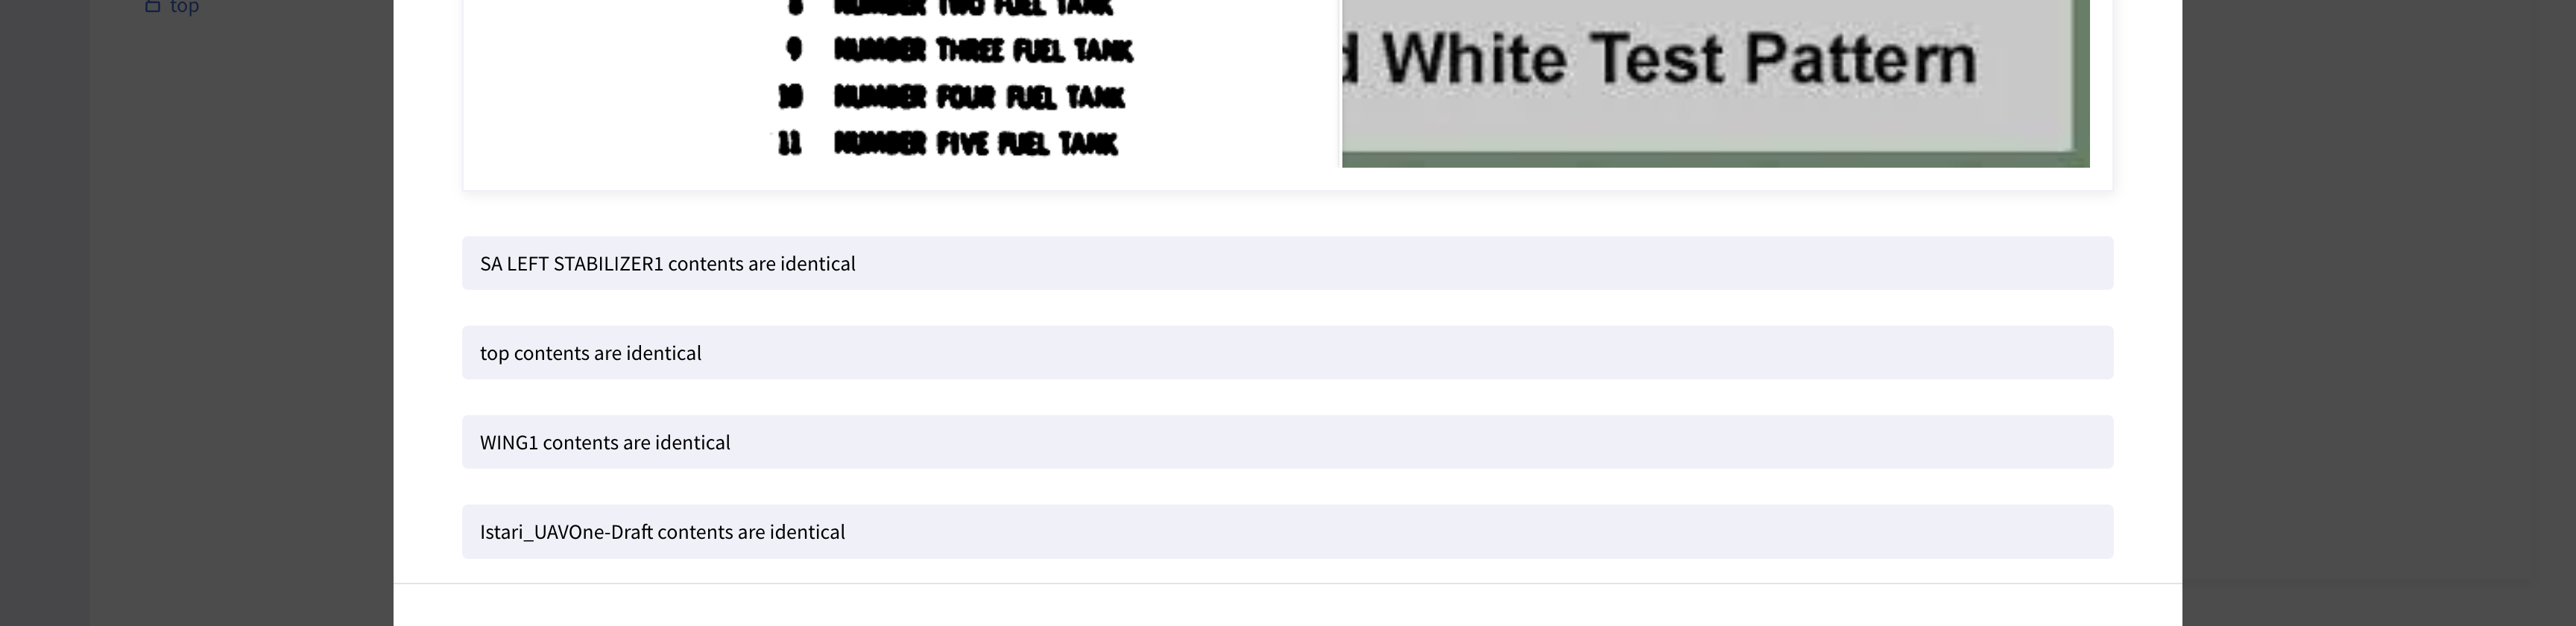
Unchanged files will be marked as identical:
9. Share Your System
To collaborate, click Share System and assign roles (Viewer, Editor, Administrator) to other users.
Note: Sharing a system does not override file-level permissions. Users without access to individual files will see limited information:

This ensures secure, fine-grained access control within collaborative environments.
Congrats - you've built your first system!